Create a Pulse-Synced Biofeedback Butterfly: A Step-by-Step Guide
Introduction
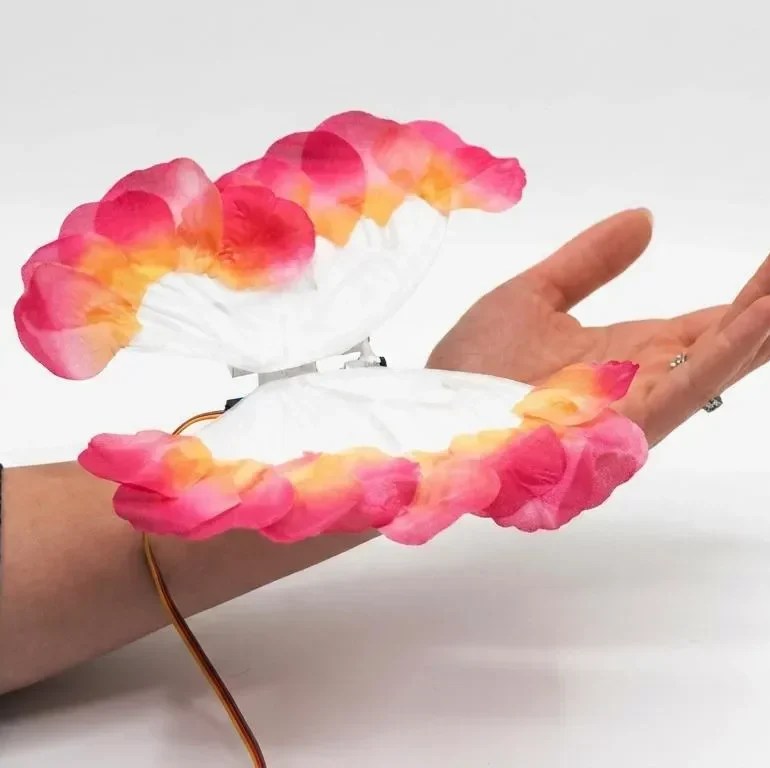
Biofeedback is a powerful technique that brings unconscious biological processes into your awareness, allowing you to influence them through focused intention. One captivating example is a butterfly whose wings flap in time with your heartbeat. By watching the pulse-driven motion, you can practice calming your mind to slow your heart rate—and the flapping. This guide walks you through building your own biofeedback butterfly using a pulse oximeter, an Arduino, and a servo motor. The result is a tangible, visual meditation aid that demonstrates biofeedback in action.
What You Need
Before you start, gather these components and tools:
- MAX30102 pulse oximetry sensor – measures heart rate and blood oxygen levels
- Arduino Uno (or compatible board) – the brains of the project
- SG90 micro servo motor – moves the butterfly wings
- 3D-printed butterfly model (with articulated wings) – you can find free designs online or create your own
- Jumper wires (female-to-female and male-to-female as needed)
- USB cable for power and programming
- Small breadboard (optional but helpful for connections)
- Hot glue or double-sided tape for assembly
- Computer with Arduino IDE installed
Step-by-Step Build
Step 1: Prepare the Electronics
Connect the MAX30102 sensor to the Arduino Uno. Use jumper wires to link the sensor's VIN pin to the Arduino's 5V output, GND to GND, SCL to A5 (or the dedicated SCL pin), and SDA to A4 (or SDA). If your module has an interrupt pin (optional), you can leave it unconnected. The servo motor connects to a digital PWM pin—typically pin 9. Attach the servo's power (red wire) to 5V, ground (brown/black) to GND, and signal (orange/yellow) to pin 9.
Step 2: Install the Libraries
Open the Arduino IDE and install the necessary libraries. Go to Sketch > Include Library > Manage Libraries. Search for "MAX30105" by SparkFun (compatible with MAX30102) and install it. Also install the "Servo" library (built-in) if not already present. These libraries handle sensor communication and servo control.
Step 3: Write (or Upload) the Code
Use the following sketch: it reads heart rate from the sensor and commands the servo to move based on each pulse. The code initializes the sensor, calibrates, and continuously updates the servo angle with a delay proportional to the heartbeat interval. A basic version: set the servo to sweep 0–90 degrees on each beat. You can find example code on the original project page or adapt the heart_rate_plotter example from the sensor library. Make sure the servo moves smoothly by using servo.write() and adjusting the speed with a small delay.
After uploading, open the Serial Monitor (9600 baud) to verify that the sensor is detecting your heartbeat. Place your finger gently on the sensor; you should see a BPM reading.
Step 4: Build the Butterfly
Print your 3D butterfly model using PLA or ABS. Ensure the wings are separate pieces that can pivot. Attach the servo to the butterfly body so that the servo horn rests between the wings. Use hot glue or small screws. The goal is that when the servo rotates, it pushes the wings open and closed. Secure the servo firmly; any wobble will reduce the flapping precision.

Step 5: Assemble and Test
Place all electronics in a small enclosure or on a breadboard. Connect the Arduino to power via USB. Hold the sensor against your fingertip or earlobe. The butterfly wings should begin flapping in time with your pulse. If not, check the wiring and code. Adjust the servo range (e.g., 20–70 degrees) if the wings don't move enough or hit the body. Fine-tune the delay so the wings fully open and close on each beat.
Step 6: Calibrate for Biofeedback
Set up the butterfly in a quiet, comfortable spot. Sit still and place the sensor on your finger (use a clip or tape to hold it in place). Observe the wings. As you relax, your heart rate may drop, and the flapping will slow. Conversely, if you become anxious, the wings beat faster. Use this visual feedback to practice deep breathing or meditation, aiming to reduce the flapping rate. This is the core biofeedback loop.
Tips for Success
- Sensor placement matters: The MAX30102 works best with light skin contact. Avoid pressing too hard—just rest your finger gently. For consistent readings, tape the sensor to your fingertip or use a pulse oximeter clip designed for the sensor.
- Power source: A USB power bank makes the butterfly portable, so you can use it anywhere without a wall outlet.
- Calm your environment: External noise, movement, or bright light can interfere with the sensor. Use the butterfly in a dimly lit room for best performance.
- Start simple: If the wings flap erratically, check that the servo is receiving clean power. A separate 5V supply for the servo may help.
- Personalize the design: Paint the butterfly or add LED eyes that glow with each heartbeat for an extra visual cue.
- Safety first: The servo is small but can pinch skin. Keep fingers away from the moving parts during operation.
This project beautifully illustrates biofeedback principles. Similar techniques have been used for stress reduction, improved meditation, and even aiding sleep. Once your butterfly flutters in rhythm with your pulse, you can explore extending the concept—perhaps adding a display of your BPM or creating a flock of pulse-driven butterflies.
Related Articles
- New 'Prepersonalization' Workshop Aims to Close the Personalization Gap Before It Costs Companies Millions
- Data quality: The hidden bottleneck in machine learning and AI systems
- How to Raise Billions Across Multiple Startups: The RJ Scaringe Playbook
- International Law Enforcement Dismantles Massive IoT Botnets Behind Record DDoS Attacks
- Prepersonalization Workshop: The Secret to Avoiding Costly AI Personalization Failures, Experts Say
- Agentic AI Security Crisis: SentinelOne Unveils New Tool to Govern Autonomous Agents at Machine Speed
- Designing for Transparency: Navigating the Decision Nodes in Agentic AI
- Mastering the Fleet: A Step-by-Step Guide to Battlestar Galactica: Scattered Hopes